
Instruction how to build an image for VisionSOM-STM32MP1 from SomLABS
Product:
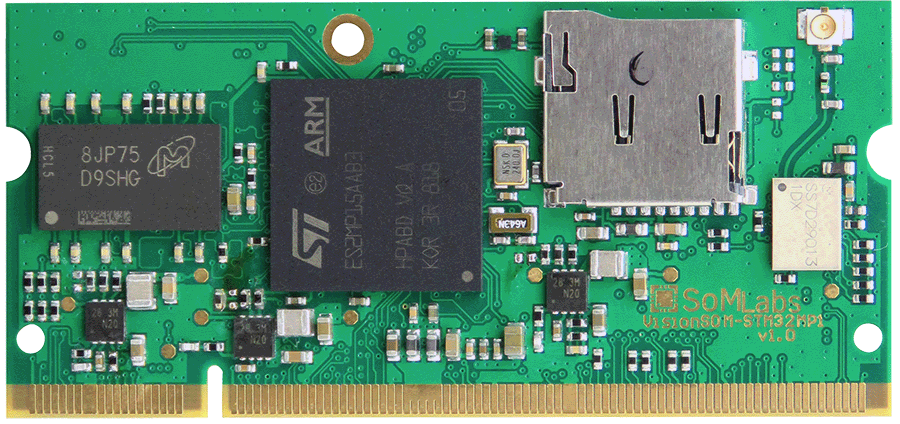
The VisionSOM-STM32MP1 (SLS18)
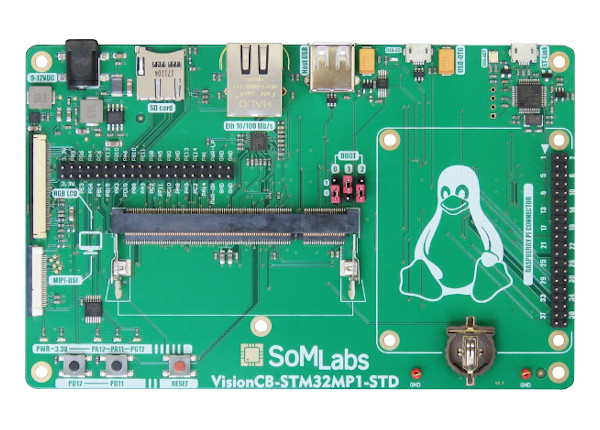
The Carrier board
General Note:
Assumed that Linux Ubuntu 20.04 is installed
List of tested elements
The hearthbeat LED works
List of not tested elements
Bluetooth – appears during system boot up
WiFi
Ethernet
Lcd
Touchscreen
Backlight for Lcd
How to build images
1. First, make sure to following packages are installed in the system
sudo apt-get install gawk wget diffstat unzip texinfo gcc-multilib build-essential chrpath socat libsdl1.2-dev xterm libncurses5-dev git
Note: More information can be found on the Yocto reference manual.
2. Download necessary Yocto packaged listed below. Be sure to be in the root of the home folder.
mkdir yocto
cd yocto
mkdir build
git clone git://git.yoctoproject.org/poky --depth 1 -b dunfell
cd poky
git clone git://git.openembedded.org/meta-openembedded --depth 1 -b dunfell
git clone https://github.com/meta-qt5/meta-qt5.git --depth 1 -b dunfell
git clone https://github.com/voloviq/meta-stm32mp1 --depth 1 -b dunfell
3. Select directory to build Linux
source oe-init-build-env ~/yocto/build/stm32mp157a-visionsom
4. Modify bblayers.conf(located in ~/yocto/build/stm32mp157a-visionsom/conf)
BBLAYERS ?= " \
${HOME}/yocto/poky/meta \
${HOME}/yocto/poky/meta-poky \
${HOME}/yocto/poky/meta-openembedded/meta-webserver \
${HOME}/yocto/poky/meta-openembedded/meta-gnome \
${HOME}/yocto/poky/meta-openembedded/meta-xfce \
${HOME}/yocto/poky/meta-openembedded/meta-initramfs \
${HOME}/yocto/poky/meta-openembedded/meta-multimedia \
${HOME}/yocto/poky/meta-openembedded/meta-filesystems \
${HOME}/yocto/poky/meta-openembedded/meta-perl \
${HOME}/yocto/poky/meta-openembedded/meta-oe \
${HOME}/yocto/poky/meta-openembedded/meta-networking \
${HOME}/yocto/poky/meta-openembedded/meta-python \
${HOME}/yocto/poky/meta-qt5 \
${HOME}/yocto/poky/meta-stm32mp1 \
"
Note: Please adapt PATH of conf/bblayers.conf if necessary.
5. Modify or align following elements in local.conf(located in ~/yocto/build/stm32mp157a-visionsom/conf) file
MACHINE ??= "stm32mp157c-visionsom"
DL_DIR = "${HOME}/yocto/downloads"
SSTATE_DIR = "${HOME}/yocto/sstate-cache"
TMPDIR = "${HOME}/yocto/tmp"
RM_OLD_IMAGE = "1"
INHERIT += "rm_work"
Note: Please adapt rest of conf/local.conf parameters if necessary.
6. Build objects
Issue from console one of the following option
qt5 image
bitbake qt5-image

qt5 toolchain sdk
bitbake meta-toolchain-qt5
7. After a couple of hours, 😉 the image should be ready
8. Create image for SD-Card using a dedicated script. So type
gunzip -c ~/yocto/tmp/deploy/images/stm32mp157c-visionsom/qt5-image-stm32mp157c-visionsom-xxx.rootfs.wic.gz | sudo dd of=/dev/mmcblk0 bs=1M iflag=fullblock oflag=direct conv=fsync
NOTE: Only thing to do is replace if necessary of=/dev/mmcblk0 to of=/dev/sdx for instance. Be aware wrong specification of “of=/dev/..” can damage Your local system, check twice !. To check where the SD-Card is connected “df -h” command can be useful
9. Next, compile QT5 toolchain in Yocto.
bitbake meta-toolchain-qt5
NOTE: During compilation some WARNINGS can appears
10. Next step is to install SDK into the system. Go to directory
cd tmp/deploy/sdk/
11. The Last thing to do is create Kit for STM32 into the QTCreator application. Please refer to the following article and apply accordingly